
The Ultimate Climber Van - My DIY Sprinter Conversion
/by Dave Miller
IAG owner, director & lead guide
There’s a saying “you can live out of a truck but you can live in a van”. The climber van has become a ubiquitous symbol of the traveling rock climber in the United States. For climbers on long road trips across the Western US, there is a need for reliable wheels that allow for an inside living space. Pitching a tent is fine for a week or so, but that can get old fast when the road trip stretches into a months and seasons get colder and windier. And as the days on the road pile up, pulling out and putting back all your gear into a low-ceiling camper shell, the allure of the pickup truck vanishes quickly
In my early days of guiding, I was a fulltime rock climber living in a van for almost 5 years. I traveled from climbing area to climbing area and worked as a guide in between so there just wasn’t a need, nor a desire, for a fixed roof over my head. A good friend and partner of mine called this unique form of homelessness “being on the program”. It was bliss in many ways…the freedom of the road, waking up to a spectacular front yard every morning, and of course no rent expense
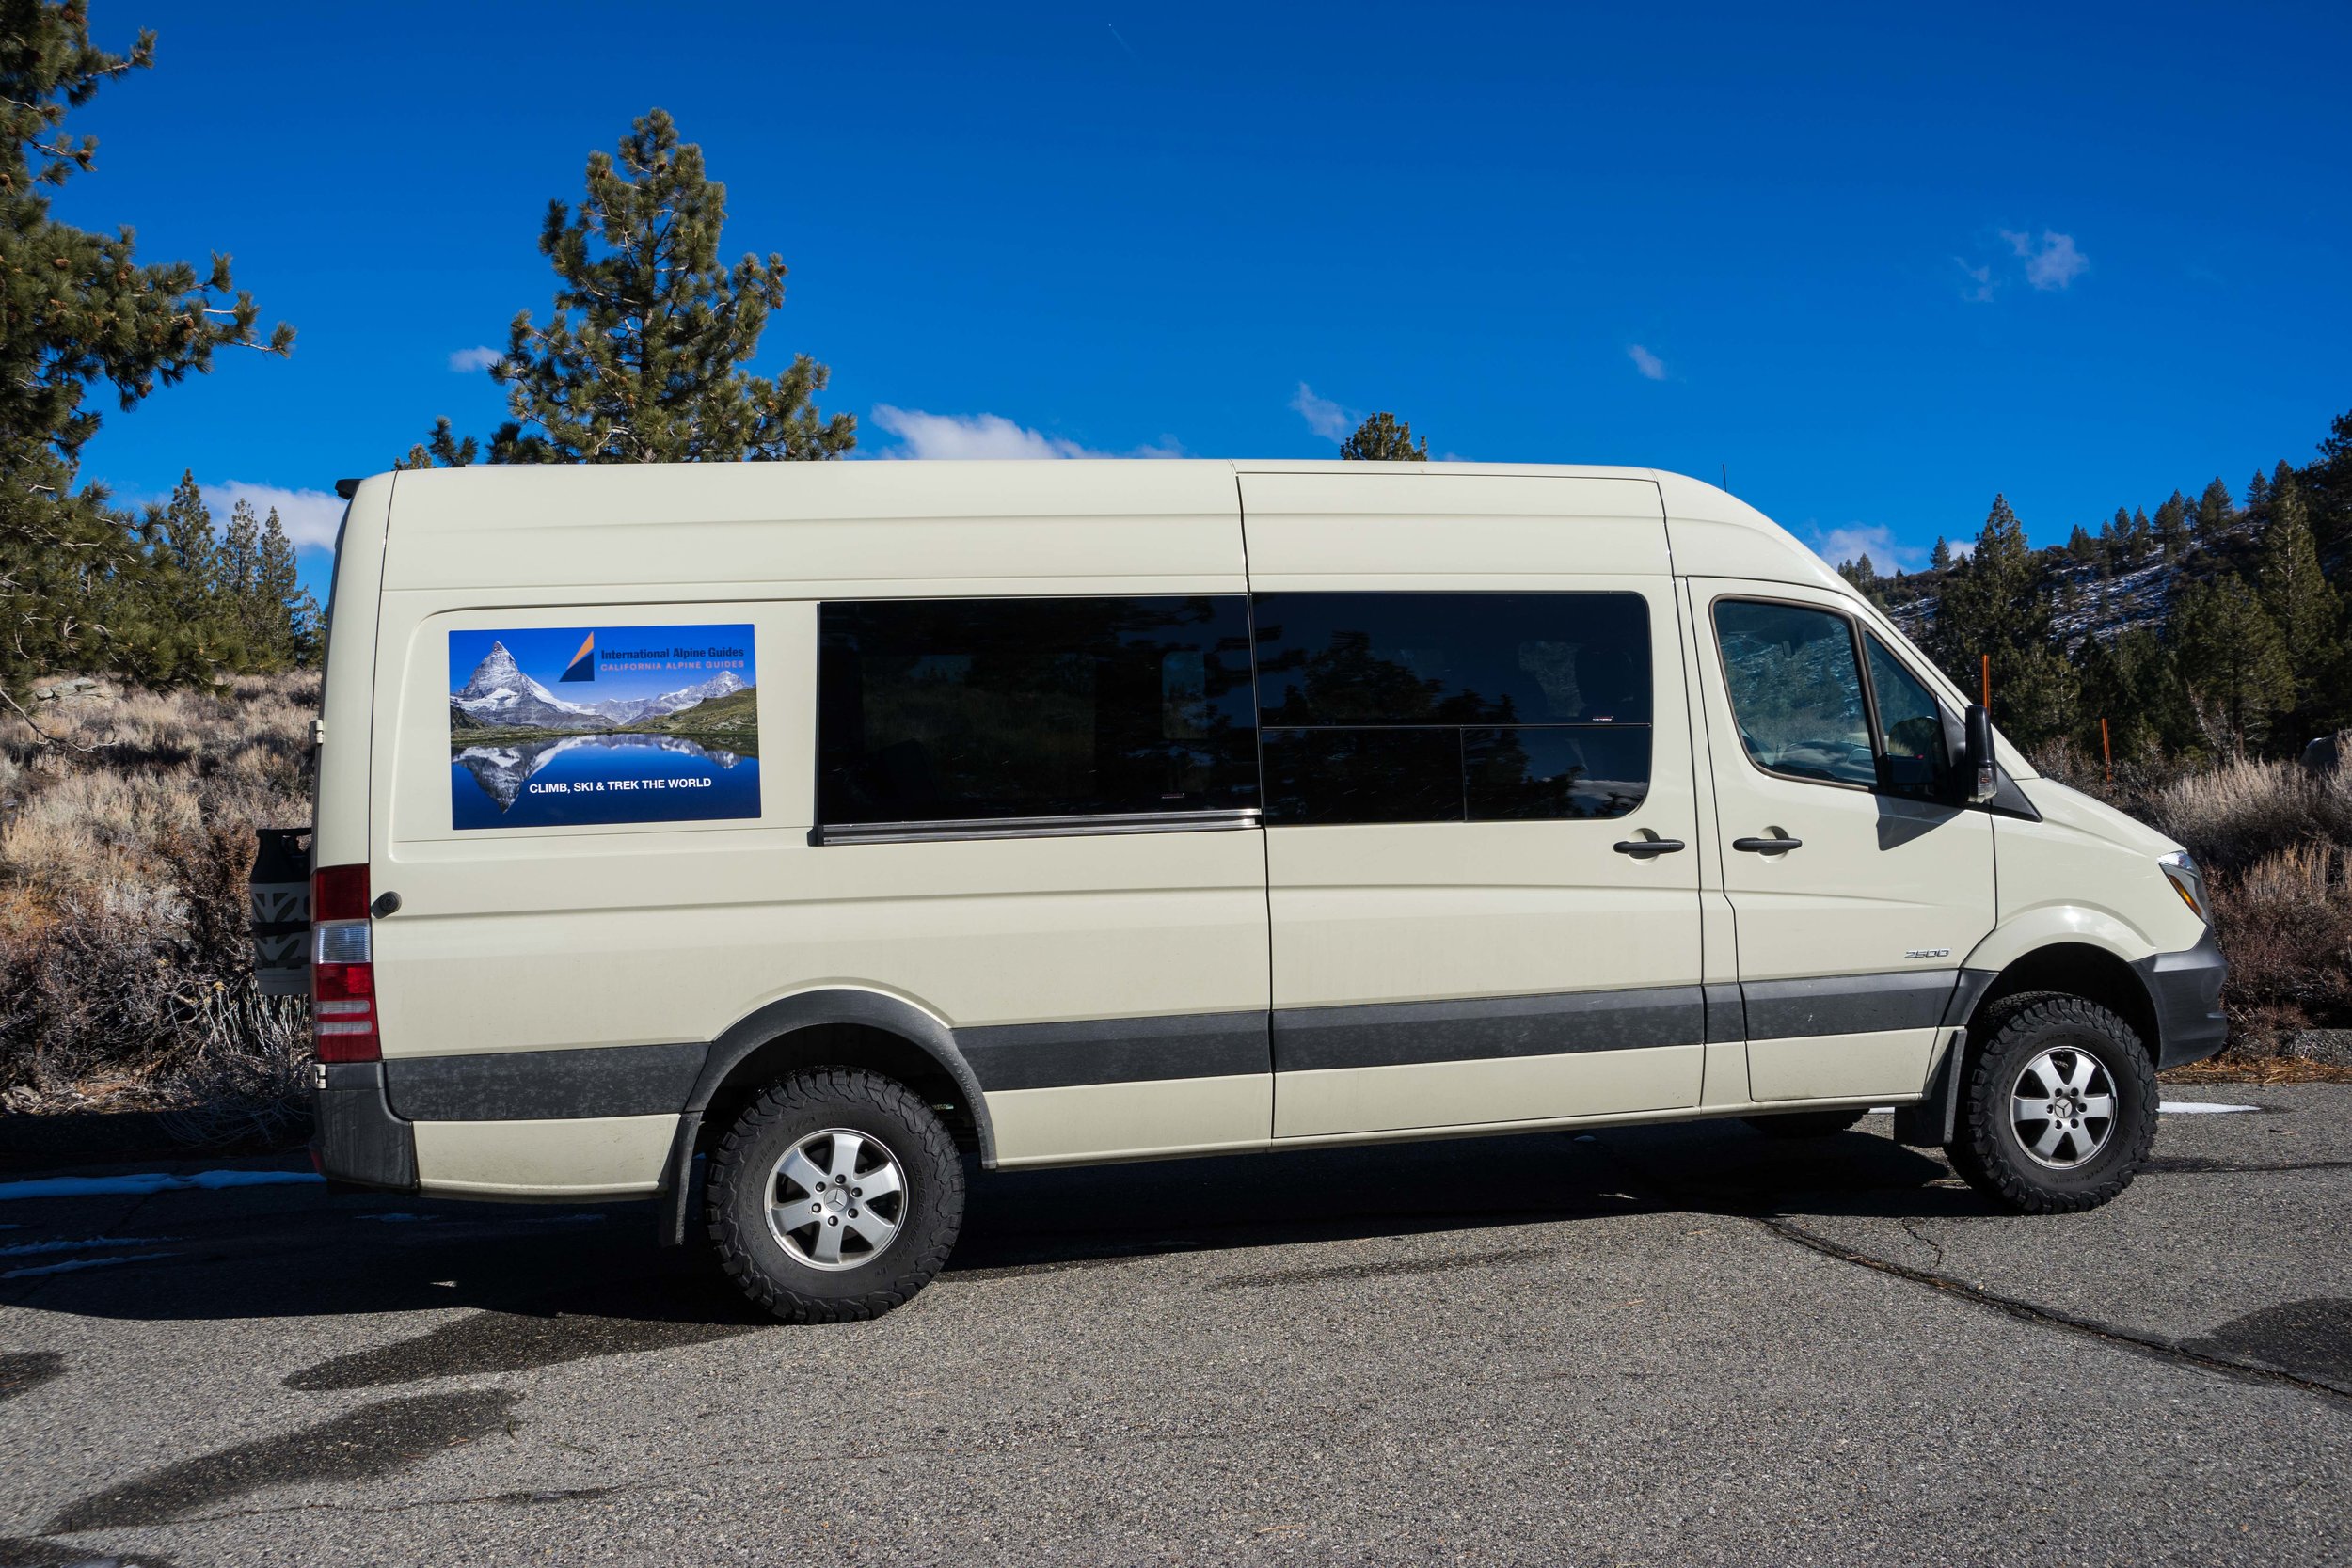
In 2004 I became the first climber in California, and maybe the West Coast, to own and convert a Euro-style Sprinter van. Those style vans were just being introduced into the US and were not even available in California yet. My 1985 VW Westfalia had recently blown up for I think the third time (I lost count). So, I went big. Real big. I headed East to Vegas and picked up a 2003 Sprinter cargo van.
I learned a lot in the conversion process, but the living space I created for myself back then was ideal for my needs. For sleeping, it had a fold out sofa bed I pulled from my Westfalia. A sink with running water and 20-gallon tank. A kitchen with stove and oven combo, a propane fridge and counter space. It had lighting and a battery bank of two golf cart 6 volt batteries to power it all. The front passenger seat spun around to turn the whole living area into a living room. There was also plenty of gear storage underneath the aforementioned sofa and also above the bed. The design was based on the old Westfalia design. A VW Westfalia on steroids. I referred to my Sprinter as my “turtle shell” as everything I needed in life went with me everywhere. She served me well over more than a few miles across Western North America… surviving many a bumpy and snowy road, a girlfriend with a history of killing Sprinters, and even a direct elk strike.
But like many relationships, my first Sprinter and I came to part ways. With the miles adding up, a real roof over my head and a growing cash-starved business to run, I eventually sold it to the late alpine climber Kyle Dempster. I missed her, but I took solace in the fact that another full-time climber (and an exceptionally good one at that) was enjoying all that she had to offer. She was living out her days with someone who could pull harder than me. She deserved that.
That was then and this is now. After many years of road tripping in a Subaru (tight) and then a Honda Element (A great climber car. Not a van or a truck.. but a car), it was time again to get a proper road tripping rig. I started out thinking I was going to purchase a lower mileage used Sprinter van, but then I discovered the new Sprinter four-wheel drive model. That was it. I was soon looking out my window at a new 2016 mid-length, high roof four-wheel drive Mercedes Sprinter 6 cylinder diesel cargo van in my small driveway. Now my 2003 Sprinter was also a mid-length/high roof, but in the intervening 13 years Sprinters have apparently grown considerably. So the new van is about 6” higher and at least a foot longer. Behind the passenger compartment it was completely empty inside. No shelving, no liners, no windows, nothing. A blank canvas.
Taking what I learned from the first Sprinter, adding things I wished I had and subtracting some things I felt I didn’t need, I launched into another conversion. It’s finally finished, short of some future add-ons. In this article I’d like to share with you my latest conversion and some of my overall thoughts about converting a Euro style van into the ideal climbing road trip mobile.
First off, everyone’s priorities are different. Some people like to cook, others just want to heat water. Some like to shower, others could care less. Some just sleep in their rig and some want to hang out in it, or even work in it. This van conversion reflects my desire to cook great meals at camp and entertain guests, have ample running water, good interior lighting, and battery storage to run it all. Also, this van is meant for year-round road tripping to not just rock climbing areas, but also ice climbing and skiing venues. It’s meant to be comfortable to hang in for many hours on those dark and stormy winter nights. This isn’t for “dirtbagging”, it’s for living on the road in relative comfort. For some it may seem like a lot, but keep in mind it’s not so much a large van as it is a very small four-wheel drive RV. And it fits in a regular parking spot.
The Design
Once again, I went with the “Westfalia on steroids” design. I’ve yet to find another design that uses space as efficiently while still leaving plenty of open space for hanging out. Basically, the kitchen, fridge and cabinets are all on the driver’s side opposite the large sliding door. The sofa bed is about two thirds of the way back and there is overhead storage above the bed. Now since, I’ve opted for a longer van I used the space behind the bed (something my old Sprinter lacked) for more storage and yes, a shower. There’s even enough room for someone to sleep on the floor in front of the bed. The only disadvantage to this design is that is puts more weight on the driver’s side, something I offset just a little by placing a hundred pounds of batteries under the sofa on the passenger side. I guess I’ll just have to rotate my tires more often.
I chose mostly wood to do the build out. This is because I am capable of working with wood (though I’m no carpenter), it’s readily available, and it just looks cool. The pine paneling is a great touch which gives a kind of “ski lodge” feel to the place.
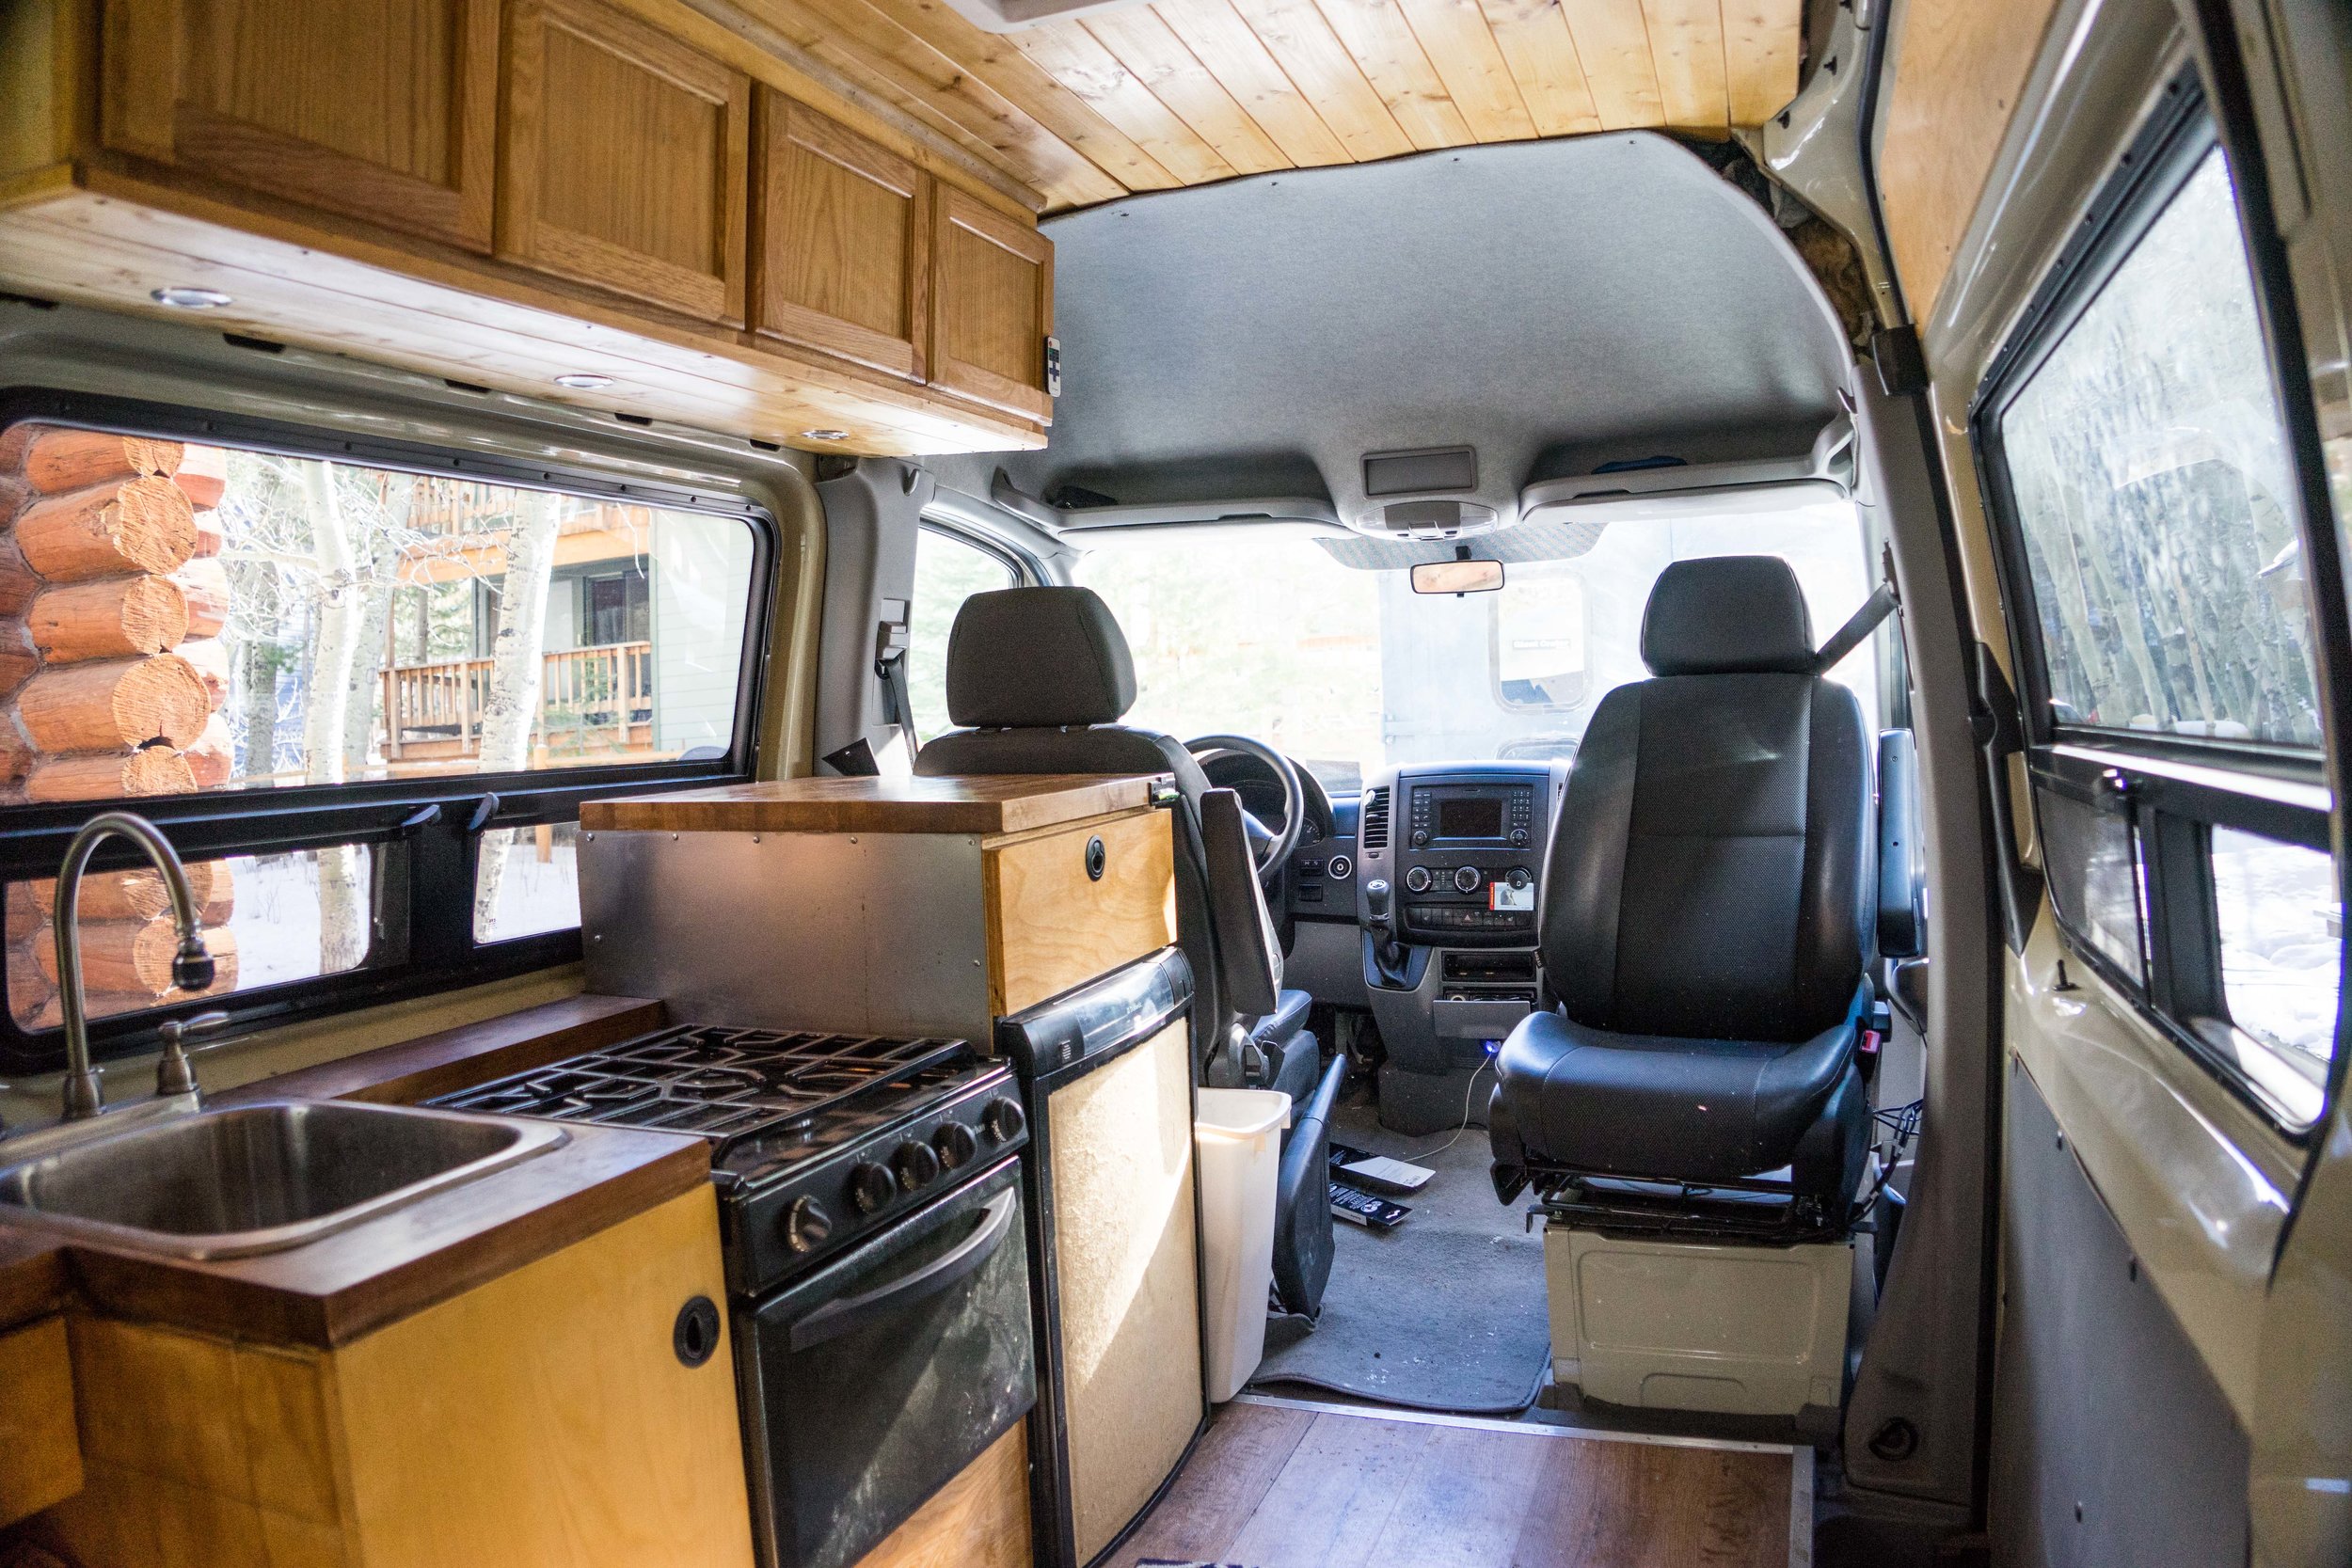
The layout looking forward from the bench seat. The front passenger seat spins.
Insulation & Soundproofing
Before starting the build out I installed three layers of insulation on the bare metal of the van. I started with Rattletrap soundproofing that adheres to the metal and provides an amazing amount of sound insulation. Then I installed a layer of Relectix "bubble wrap" insulation and finished it off with common household fiberglass insulation where that was appropriate. Driving down the road at 65 MPH I can have a conversation with someone in the far back seat at a normal voice level. And when I'm camping in a busy campsite, I don't hear those annoying and unnecessary generators.

The layout looking back from the cab.
Kitchen
Now as I said, I like to cook. I figure if it’s something you have to do multiple times a day your entire life, you might as well go all out with it. And while on the road, there’s usually nothing better to do in the evening than cook while socializing with friends. If you’re going to cook, you need the means in which to do it. That’s why I installed a 3-burner propane stove top and oven combo. The oven may seem a bit overkill and honestly, I thought so too when I installed one in my first Sprinter. But after owning one, I realized how useful they are. It really opens up the menu options to frozen pizzas, baked chickens, brownies, etc.
For long road trips coolers just suck. Run out of ice in the desert and there’s goes all your perishables. And eating water logged cheese from the melting ice just isn’t very appetizing. So I went with a propane/electric refrigerator that will run off either propane or 12 volt. The advantage of having a propane fridge vs just electric is that you won’t need a finicky solar set up to keep it running (more on that later) and I’ve already got propane plumbed for the stove. The disadvantage is having to cut large holes in the side of the van for venting.
The sink is a regular single kitchen sink with a high faucet (better for filling water bottles). The pump is 4-gallon per minute which is plenty of power to move the water from the 30 gallon water tank built into the cabinet. Is 30 gallons of water too much weight to cart around? Of course it is. But the idea is that I keep maybe 4-5 gallons in it till I get somewhere and then fill it all the way up. While in a remote climbing camp out in the desert of Utah, it sure is nice to have to make the trek into town for water only half the time. To avoid installing a grey water tank, the drain just goes straight out onto the ground and I have a portable grey water tank I can hook up underneath.

The kitchen. The water heater sits under the sink.
The Bed
This is one of the few items I did not attempt to make myself. I purchased a faux leather bench seat from an online seat manufacturer that folds out flat and is specifically designed for conversion vans. It also has 3 seat belts in the back to transport passengers. It is 54” wide and folds out to a length of 44”. Now of course that is not long enough to sleep on so I built out a 30” extension behind it that a cushion sits on so when the seat fold down it seamlessly matches with the back cushion. The back built out of the bed also has a gear storage drawer underneath it. I topped it all off with a 2” memory foam topper for extra comfort.
The bed’s metal frame is bolted to the chassis with grade 8 (the strongest) bolts and big washers. I also bolted three seat belts to the chassis so as to hold up t0 three passengers on the bench seat.
The Toilet
There is no toilet. I can’t think of anything that is more of a waste of space in a van, and kinda gross also. For those who think they need a toilet, I would refer you to Kathleen Meyer’s excellent book “How To Shit In The Woods”.
The Shower
Some would think a shower is a bit of an unnecessary luxury. Normally I would agree. However, when you consider my shower is not just for washing ones body parts, but is also for ski and wet gear storage it becomes less of a luxury and not so much a waste of space. I have installed Velcro straps so I can hold two pairs of skis up to 185cm and poles upright. The shower pan I installed holds wet ski boots, wet ropes and/or ice climbing gear which just drain out of the van. And trust me, when on the road and you feel it’s finally time to rinse off it sure is nice to not have to hunt around for some filthy $5 hostel shower. The shower stall is lined with cedar paneling that has been quadruple coated in heavy duty urethane to keep it mostly water proof.
For hot water I installed an on-demand water heater powered by propane. Kinda pricey and having hot water is a bit of luxury that I can’t say is necessary. But I gave myself this one and it sure is nice.

The shower and ski locker. velcro straps hold down the skis.
Cabin Power
I didn’t go with a solar set up. After 5 years of living in my original Sprinter, I never ran out of battery juice (with fresh batteries) and I never had a solar set up. Honestly, I think they are a bit trendy. I go with two 6-volt AGM batteries wired in line to make them 12 volt. AGM batteries last longer, hold a tremendous amount of reserve, can be mounted in any position and don’t require the same stringent venting requirements of regular batteries.
The cabin batteries charge off the van’s alternator when I drive. I’m basically only powering cabin lights, a vent fan, water pump, stereo and an occasionally an inverter for charging computers and rarely running small electrical items. So since I don’t usually sit somewhere without driving for more than 4-5 days, this set up works great. An expensive solar setup would be needed if you sit for more than 10-12 days and/or have an electric fridge. And of course you will need sun.
To protect the van’s starting battery, I installed a relay/isolater that opens up the connection from the alternator to the cabin batteries only when the ignition is turned on. The connection goes straight from the cabin batteries to the alternator underneath the van’s chassis. Since that is a distance of fifteen feet I had to use very thick 4-gauge wire…the longer the distance the thicker the wire has to be otherwise you won’t get a good charge.
Propane System
There are only few ways to plumb a propane set up that meets code and those codes change from state to state. So, with that in mind I won’t try to say how you should plumb a propane system which can go terribly wrong if done incorrectly. All I will say is that I chose to go with a marine system which involves marine grade rubber propane lines that go from a tank mounted outside underneath the chassis to the three appliances that require propane. The splice connections in the propane lines are all outside the van. This is the same set up that high-end yachts use. The back-mounted tank is lightweight fiberglass which is nice since it sits on the back door.
Windows & Ventilation
In my original Sprinter, I had no windows in the living compartment and I always regretted that. It made me feel like I was living in a cave. I always heard the argument that not having windows gives you more privacy and security and that never made any sense to me. First off, if you want privacy there are plenty of shade or curtain options that completely seal you off from the outside world when you want that. And as for the argument that side windows make it easier to break into I would point out that there's still the front windows which are no less susceptible to a thrown brick. So when you are camped in some strikingly beautiful locale in colder temps it sure is nice to look out at it all.
I went with four aftermarket tinted windows, two of which have vents and screens. This makes it nice when cooking or when it's hot out during mosquito season. In addition, I have a roof vent with a two-directional electric van for even more ventilation (no AC, I'm mostly a mountain dweller). To cover the windows, I found pre-cut insulated covers that velcro to the window openings for complete privacy and more insulation. They even have a fake wood panel look to them.
Heat
A trick I learned from my old van was to take to terra-cotta pots, put them upside down on the stove put on low and they really warm the van up. Of course, you have to vent the windows if you do this and you can't leave it on at night. Just cooking dinner actually heats up the van nicely. That said, my plan is to eventually install an Espar diesel sipping cab heater underneath the passenger seat. They are designed for big rig sleeping compartments and are fueled from the vans gas tank. You can also get a thermostat and timer for them which is nice if you want to set the heater for 30 min before you wake up.
Storage
Anyone who’s been on a long road trip knows that storage is key. With so much gear, ropes, clothing, etc. it is nice to have place for everything. And not having to move things around every day gives one more time for chilling.
I have allowed for plenty of storage underneath the sofa bench seat including a large rolling drawer in the back. There is also overhead storage above the bed segmented into forward and rear compartments. For pots and pans, I’ve got a large rolling drawer under the oven and I installed cabinets above the kitchen as a food pantry. Of course there's all the storage in the shower box for longer things such as skis. Finally, I mounted a cheap pine-wood kids sized dresser behind the bench seat and next to the bed. And there’s cubbies all over, including a two-bottle wine rack which is also great to hold water bottles.

The back storage behind and underneath the bed.
So there it is. For my wants and needs this is my dream van. While I don’t live in a van anymore, I do still find myself road tripping around the West for play and work and have a need for an efficient studio on wheels. After adding all the weight to the van it still gets up to 18MPG which is great for what it is. And it’s proven to be the best snow vehicle I’ve owned in over 30 years of living in the mountains. While the length and turning radius is somewhat limiting, it also does great on all but the most gnarly and narrow four wheel drive roads. The best part is rolling into a spot to camp for the night, simply turning off the ignition and voila...camp is all set up.

